

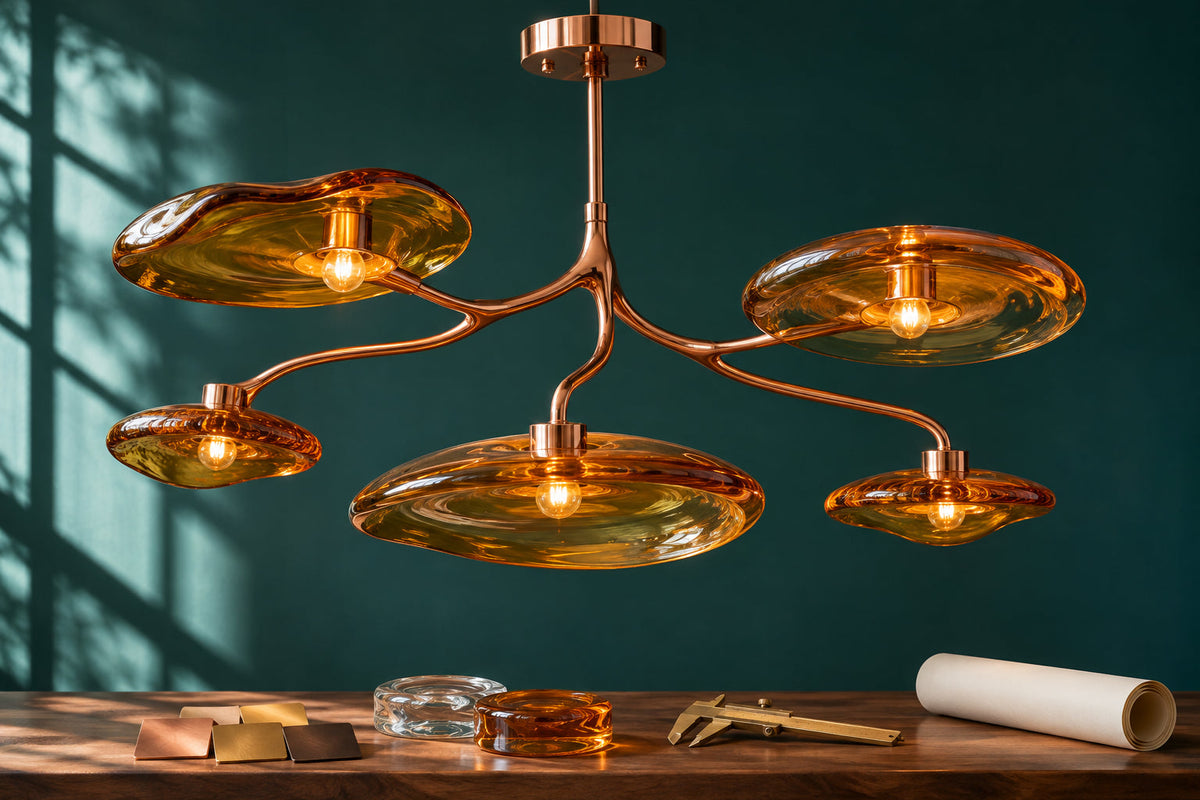
A useful custom lighting inquiry explains the room as clearly as it explains the desired fixture. “A larger chandelier” leaves several questions open: wider across the table, taller through a stairwell, or simply suspended farther from the ceiling? A few labeled measurements and photographs turn that idea into a brief that can be assessed.
You do not need a polished presentation to start. A simple drawing with consistent units and a clear account of what is fixed will usually communicate more than a large folder of unlabeled inspiration images.
Describe the result you want
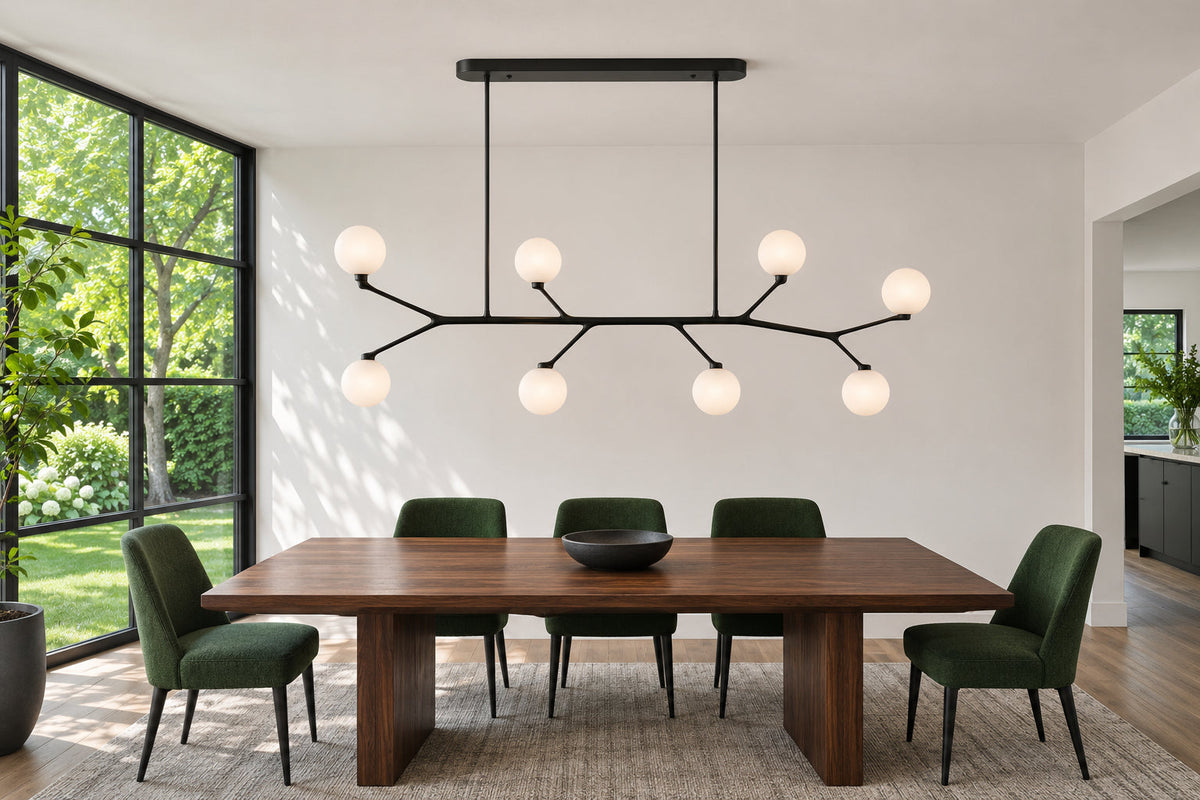
Start with a short description of the room and the reason for customization. For example: “An elongated chandelier above a 96-by-44-inch dining table, with a clear view toward the garden.” That states both a physical context and a design priority.
Identify the features you want to keep from a reference, such as an open silhouette, warm metal finish, or arrangement of glass. Separate these from the changes you need. Reference photographs communicate preferences; they should not be treated as instructions to copy another maker's design.
Label the dimensions so they cannot be confused
Distinguish the fixture body from its installed overall height. For this brief, record overall height as the measurement from the ceiling to the lowest point of the fixture. Confirm the same endpoints with your supplier, especially where decorative drops extend below the frame.
| Measurement | What to record |
|---|---|
| Room | Length, width, and ceiling height at the intended mounting point |
| Furniture or stair opening | Table length, width, and height; or a measured stairwell plan and elevation |
| Fixture body | Desired length, width, and height, with decorative elements included |
| Installed overall height | Ceiling-to-lowest-point distance, separate from chain or cable length |
| Ceiling details | Slope, beams, medallions, and the position of the intended connection |
Use one unit system throughout, or show conversions explicitly. Label measurements taken from finished surfaces, and distinguish a measured value from an estimate. If the ceiling or floor finish has not been installed, have your project team confirm the final dimensions before approving production drawings.
Do not climb into a ceiling or measure over an open stairwell yourself. A qualified professional should collect difficult measurements and assess electrical and structural conditions.
Send photographs that answer different questions
Choose a small set with a purpose for each image. Keep the originals available; heavy cropping can remove the context needed to understand placement.
- A straight-on room view: include the floor, ceiling, and main furniture.
- The approach view: show what you see entering the room or arriving at the landing.
- The ceiling area: photograph visible beams, slope, or an existing canopy from a safe position.
- Materials together: show the relevant hardware, furniture, and finish samples in similar lighting.
Add arrows or brief captions to copies of the images. “Table will move 12 inches left” is more useful than expecting someone to infer the planned layout. Remove personal documents, faces, and address details that are not needed for the design conversation.
Include one annotated example
A dining-room brief might say: “Ceiling height 108 inches; table height 30 inches; proposed lowest point 62 inches above the floor; proposed installed overall height 46 inches.” Those numbers describe the same position in two ways, helping the team catch a misunderstanding. They remain a proposal until the fixture and installation are reviewed.
Make the project constraints visible
Include the delivery ZIP code, preferred installation date, budget range, and project stage. Identify a date as a firm requirement or a preference. Ask for an order-specific schedule that separates drawing approval, production, shipping, and delivery; a requested installation date is not a confirmed delivery promise.
Have your electrician supply any relevant voltage, controls, or dimmer information. Ask the supplier to confirm the proposed fixture's electrical specifications, weight, mounting details, and any listing or certification documentation required for your project. Do not assume a customization retains every characteristic of a standard model.
Review one complete specification before ordering
When a proposal is ready, compare its drawing with your original brief. Check dimensions, finish references, light sources, suspension, canopy, installation requirements, quantity, price, and the stated delivery terms together. Record revisions on a dated document so everyone is working from the same version.
You can use this brief to begin a custom lighting inquiry with Denise Lamp. The first goal is to confirm what can be made and installed for your space, then settle the details in writing.
Further reading: Hubbardton Forge's explanation of overall height and fixture documentation. Terminology and available customization vary by manufacturer.
Share:
How to Coordinate Lighting Across Your Home
Planning a Chandelier for a Two-Story Foyer or Staircase