


Lighting feels connected across a home when the rooms share a few clear decisions. That might be the warmth of the light, a repeated metal tone, or the relationship between strong focal pieces and quieter supporting fixtures. Buying every fixture from one matching family is only one way to achieve that connection.
Start with the rooms you can see together. An entry, dining area, and living room often read as one composition even when a floor plan gives them separate names.
Map the views before making a shopping list
Walk through the home and photograph the main sightlines. From the front door, can you see both the foyer chandelier and the dining fixture? From the sofa, do kitchen pendants sit behind the living-room light? Put those photographs beside a simple floor plan.
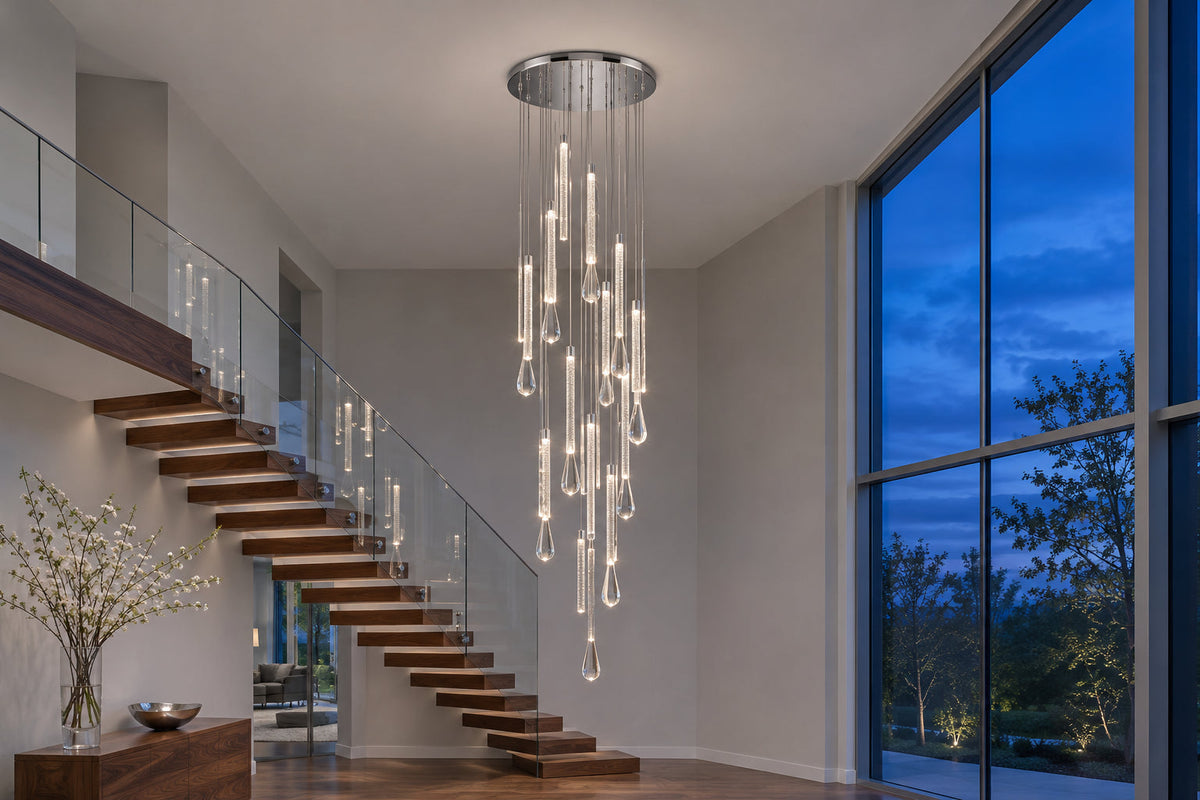
Choose which fixture should lead each view. In an open living and dining space, a sculptural dining chandelier might be the main decorative piece, with simpler living-room lighting nearby. In a tall entrance, the foyer chandelier may carry that role. This is a design choice about emphasis, not a rule that every room needs a large centerpiece.
Repeat a detail, then vary the form
Select two or three characteristics that suit the architecture and furnishings. You could repeat a muted brass tone and rounded glass while varying the scale and arrangement. Or use a darker metal outline across several rooms, allowing the shades and decorative materials to change.
Compare actual finish samples where available. “Antique brass” from two suppliers may describe quite different colors and surface treatments. Look at samples beside cabinet hardware, door handles, and nearby furniture in both daylight and the room's evening light.
An example for an open first floor
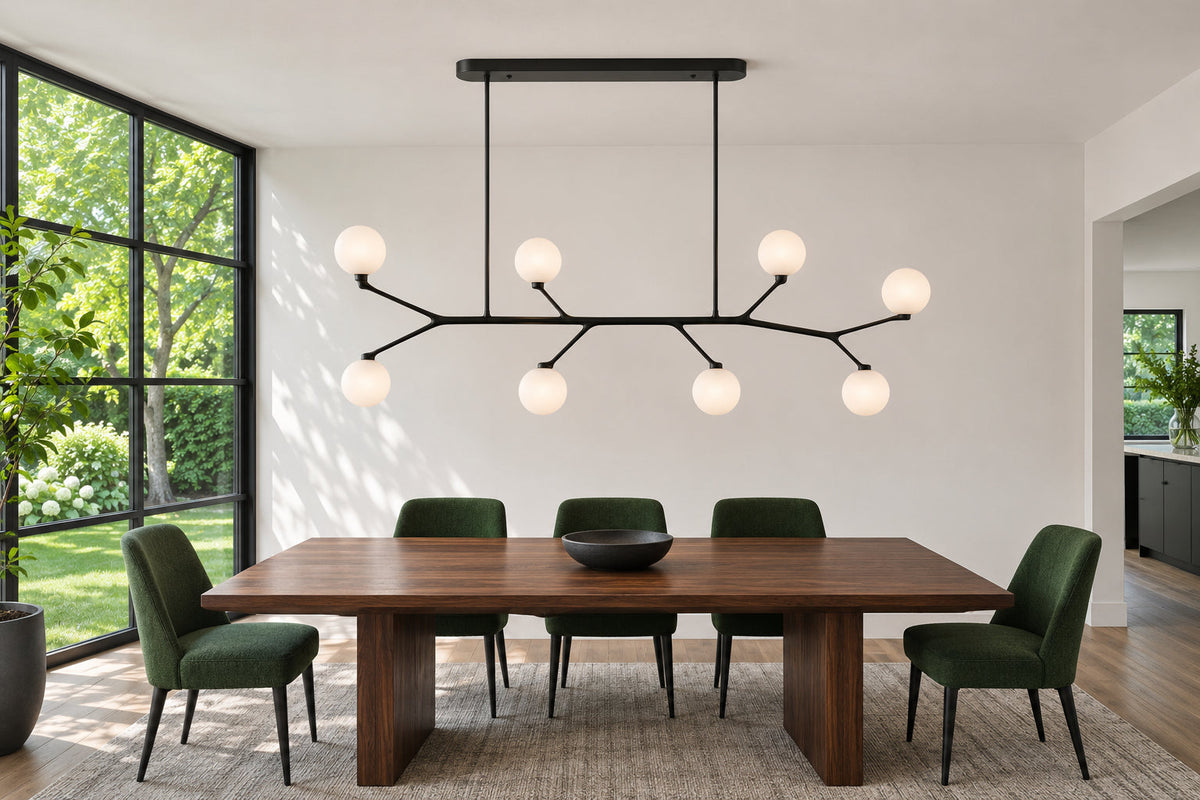
Imagine a home with pale oak, cream walls, and dark window frames. A branching dining chandelier could introduce a soft metal finish. Small kitchen pendants could repeat that finish in a simpler outline, while living-room lamps echo the curved forms. The connection comes from selected details; each fixture still responds to its own furniture and use.
Place those selections on one page at roughly comparable scale. A board made from equally sized product thumbnails can hide a large difference between a small pendant and a broad chandelier.
Give each room the light it needs
Plan for three useful lighting layers: general illumination for the room, focused light for tasks, and accent light for objects or architectural features. Use those roles to check your plan. A decorative chandelier may contribute to several roles, but its appearance alone cannot tell you whether a reading chair or countertop will have useful light.
| Area | Main activity | Lighting to consider together |
|---|---|---|
| Entry | Arriving and moving through | A focal ceiling fixture plus appropriate light along the route |
| Dining room | Meals and conversation | Table lighting with a softer supporting source nearby |
| Living room | Reading, relaxing, and gathering | General light, a reading lamp, and optional artwork lighting |
| Kitchen | Preparing food and gathering | Work-surface lighting, general light, and island lighting |
Check where people cast shadows while working and where exposed light sources enter their view. Discuss output, distribution, and glare with the project team. The number of fixtures is a result of that review, not a substitute for it.
Coordinate light color and controls
Color temperature describes whether white light looks warmer or cooler; a lower Kelvin value generally looks warmer. Consistent color temperature within a room can help create an even appearance. In connected rooms, compare the proposed sources together rather than judging each one in isolation.
Ask to see the specified lamps or LED options with your materials. A shared Kelvin label is a useful starting point, but it does not eliminate the need to compare the finished effect through different shades or glass.
Plan how the lighting will be used at different times. A dinner setting might dim the chandelier and leave a nearby lamp on. A cleaning setting may call for stronger general light. Have a qualified electrician design and install the switching and confirm the exact lamp, driver, and dimmer compatibility. A dimmable LED label alone does not confirm a suitable pairing.
Keep one lighting schedule for the project
A shared schedule prevents small specification differences from getting lost across orders. Include:
- Room, fixture reference, quantity, dimensions, and intended installed height.
- Finish, light-source details, and confirmed control requirements.
- Installation review status, delivery needs, and the latest approved revision.
Begin with the principal chandeliers, then assess living-room lighting and other supporting pieces alongside them. For unusual dimensions or a coordinated project brief, explore custom lighting and confirm available options for each fixture. Keep room function and installation requirements visible throughout the selection process.
Further reading: Kichler's guide to lighting layers.
Share:
Custom Lighting: The Measurements and Photos to Prepare